Hardwood flooring is a timeless choice that brings warmth, elegance, and value to any home. However, choosing the right hardwood flooring installation can be a daunting task, given the variety of materials, finishes, and installation methods available. This comprehensive guide will assist you in navigating the process and guarantee that you make an informed choice that fits your needs and way of life.
Step 1: Recognize Your Flooring Requirements
The first step in choosing hardwood flooring installation is to understand your specific requirements. Consider factors such as:
- Room Location: The location of the room plays a significant role in determining the type of hardwood to use. For instance, engineered hardwood is more suited to high moisture levels and basements than solid hardwood, which may not be appropriate in certain settings.
- Lifestyle: If you have pets, children, or high foot traffic, choose a hardwood species that is durable and resistant to scratches and dents, such as oak or maple.
- Aesthetic Preferences: Think about the look you want to achieve. Consider the color, grain pattern, and finish of the hardwood. Light-colored woods can make a room appear more spacious, while darker tones add warmth and sophistication.
See also: Choosing the Right Commercial Picnic Tables for Long-Lasting Durability
Step 2: Choose The Right Type Of Hardwood
Hardwood flooring comes in two main types: solid and engineered.
- Solid Hardwood: Solid hardwood, which can be sanded and polished numerous times, is renowned for its durability and is made from a single piece of wood. It is perfect for bedrooms, dining areas, and living spaces. It is not advised, therefore, for high-humidity spaces, such as basements.
- Engineered Hardwood: Engineered hardwood is more stable and less prone to moisture since it is made up of several layers of wood veneer. It can be installed in places where solid hardwood may not be suitable, such as kitchens and basements.
Step 3: Select The Hardwood Species
The hardwood species you select will have an impact on your flooring’s cost, durability, and beauty. Common hardwood species include:
- Oak: A popular choice due to its durability and attractive grain pattern. It is available in red and white types, each with a unique look.
- Maple: Maple, which is well-known for its delicate grain and light hue, is incredibly resilient and performs well in high-traffic areas.
- Walnut: Walnut has a rich, dark color and is suitable for adding a touch of luxury to your space. However, it is softer than oak or maple, making it more prone to dents.
- Hickory: This hardwood is incredibly tough and has a distinct, rustic appearance, making it ideal for homes with a country or traditional style.
Step 4: Decide On The Plank Size
Plank size can significantly impact the appearance of your hardwood flooring. The most common plank widths are:
- Narrow Planks (2 To 3 Inches): These create a more traditional look and are suitable for smaller spaces.
- Wide Planks (4 To 6 Inches Or More): Wide planks give a modern, open feel to a room, making it appear larger. They are ideal for contemporary or rustic styles.
- Long Planks: Longer planks can minimize seams and create a more unified look. They are great for spacious areas but may cost more.
Step 5: Choose The Finish
The finish of the hardwood not only affects the appearance but also the maintenance requirements and durability.
- Unfinished Hardwood: This type requires sanding and finishing on-site after installation. It allows for customization but may take longer to complete.
- Prefinished Hardwood: Prefinished flooring comes already sanded and finished, which makes the installation quicker. It is also more resistant to scratches and stains.
- Matte, Satin, Or Gloss Finishes: The level of glossiness will affect the visibility of dirt and scratches. Matte finishes hide imperfections better, while high-gloss finishes create a more polished look.
Step 6: Consider The Installation Method
Different installation methods are used depending on the type of hardwood and subfloor. The main methods are:
- Nail Or Staple Down: This method involves securing the wood to the subfloor using nails or staples. It is commonly used for solid hardwood.
- Glue Down: Ideal for engineered hardwood, this method uses adhesive to attach the wood to the subfloor. It works well on concrete subfloors.
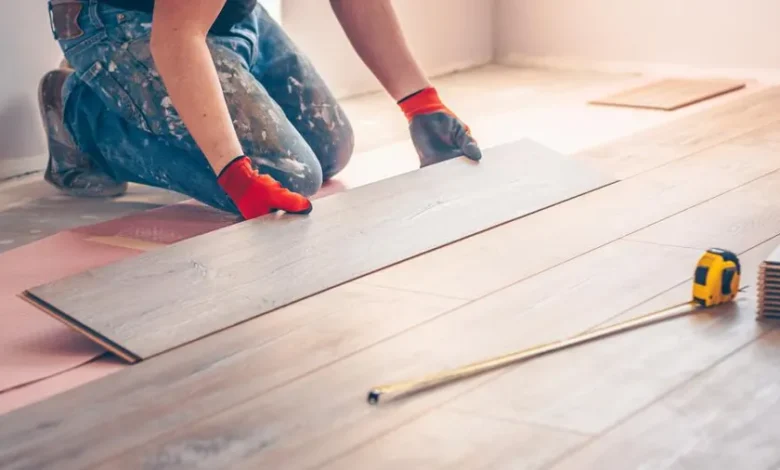
- Floating Installation: With this method, the planks are attached to each other rather than the subfloor. It is a good option for DIY installations and can be used for engineered hardwood.
Step 7: Hire A Professional Installer
While DIY installation is an option, hiring a professional ensures a high-quality result. Professional installers have the experience and tools needed to handle the intricacies of hardwood flooring installation, such as subfloor preparation, cutting planks to fit around obstacles, and ensuring the wood acclimates properly before installation.
Step 8: Plan For Maintenance
To maintain its beauty, hardwood floors need to be maintained frequently. Use appropriate cleaning products, and consider refinishing the floor periodically to remove scratches and restore its original luster. Proper care will ensure your hardwood flooring remains a long-lasting investment.
Conclusion
Understanding your demands, picking the perfect kind and species of wood, determining the size and finish of the planks, taking the installation method into consideration, and hiring a professional are all steps in the process of choosing the best hardwood flooring installation. You may have a gorgeous hardwood floor that enhances the beauty and value of your house with a little thought and preparation.


